SilverStone GD08B - Manuale d'uso
Custodia per PC SilverStone GD08B – Manuale d'uso, leggi gratuitamente online in formato PDF. Speriamo che questo ti aiuti a risolvere eventuali dubbi. Se hai ulteriori domande, contattaci tramite il modulo di contatto.






Indice:
- Pagina 2 – 移除磁架螺絲及主磁碟架; 移除磁架螺丝及主磁盘架; lnstallation Guide
- Pagina 8 – OR
- Pagina 14 – Connector definition
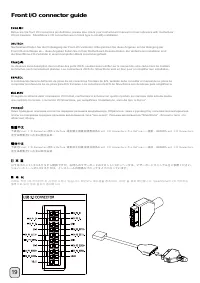
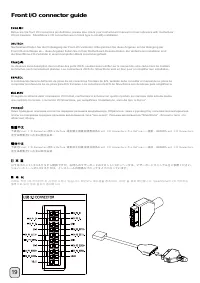
- Pagina 16 – Front I/O connector guide
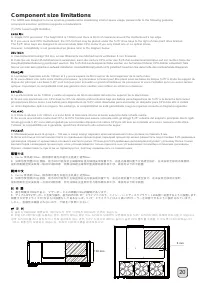
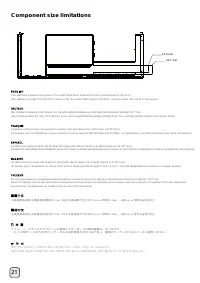
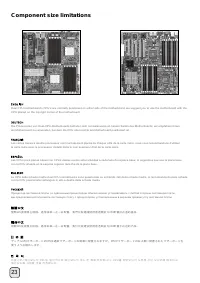
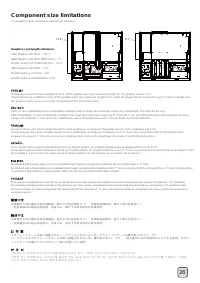
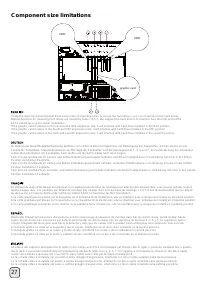
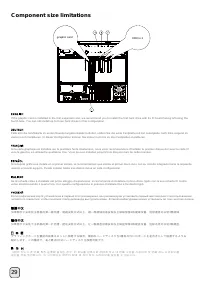
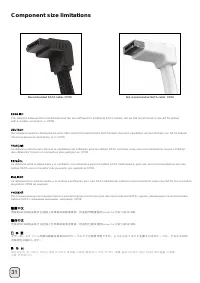
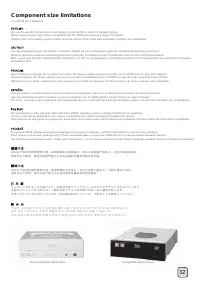
- Pagina 18 – Component size limitations
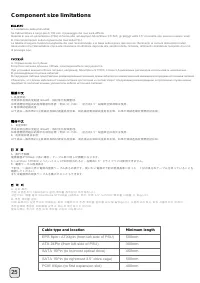
- Pagina 21 – Cable type and location
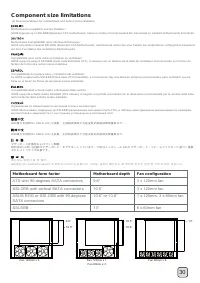
- Pagina 25 – Motherboard form factor; ATX with 90 degrees SATA connectors; Motherboard depth
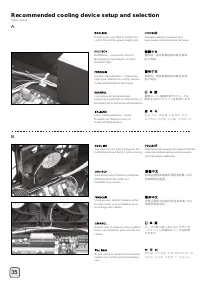
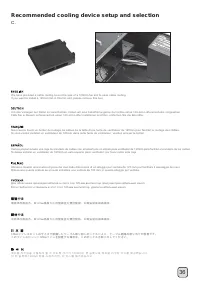
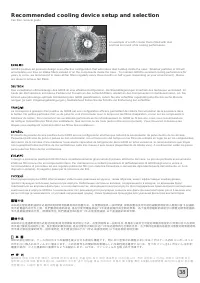
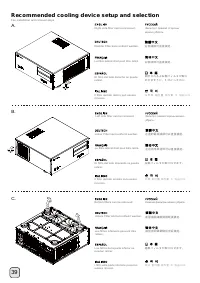
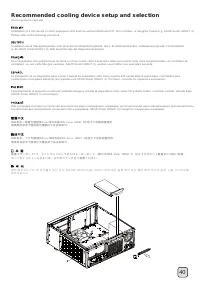
- Pagina 28 – Recommended cooling device setup and selection
- Pagina 33 – 左邊的電源濾網可以直接拔起; 左边的电源滤网可以直接拔起; 底層濾網請翻倒機殼後拔起
- Pagina 37 – Protect your computer
3
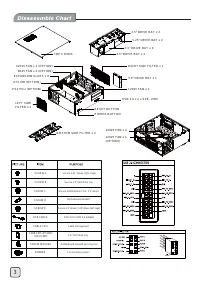
RIGHT SIDE FILTER x 1
3.5” DRIVE BAY x 1
12025 FAN x 1
USB 3.0 x 2 + SPK + MIC
BOTTOM SIDE FILTER x 2
LEFT SIDE
FILTER x 2
12025 FAN x 1 (OPTION)
8025 FAN x 2 (OPTION)
EXPANSION SLOTS x 8
PS2 PSU (OPTION)
ATX MB (OPTION)
RESET BUTTON
POWER BUTTON
TOP COVER
2.5” DRIVE BAY x 2
5.25” DRIVE BAY x 2
3.5” DRIVE BAY x 4
3.5” DRIVE BAY x 3
12025 FAN x 2
12025 FAN x 1
(OPTION)
SCREW D
SCREW C
SCREW E
SCREW A
USB CABLE
CABLE TIES
Motherboard standoff
Secure motherboard, PSU, 3.5” drives
Secure 2.5” drives, 5.25” drives (left cage)
Secure 5.25” drives (right cage)
USB 3.0 to USB 2.0 adapter
Cable management
C188-SMT-3P5HDD-
RIGHT-BKT
3.5” hard drive tray
SCREW WASHER
Motherboard standoff securing tool
SCREW B
Secure 3.5” hard drive tray
RUBBER
Fan mounting spacer
"Caricamento delle istruzioni" significa che è necessario attendere finché il file non è caricato e pronto per la lettura online. Alcune istruzioni sono molto grandi e il tempo di caricamento dipende dalla velocità della tua connessione a Internet.
Questo manuale ti è stato utile?
Informazioni su questo manuale
- Marca
- SilverStone
- Modello
- GD08B
- Tipo di documento
- Manuale d'uso
- Categoria
- Custodia per PC
- Lingua/e
- Tedesco, Inglese, Spagnolo, Francese, Italiano, Russo
- Pagine
- 40
- Dimensione file
- 5,4 MB
- Formato
Sommario
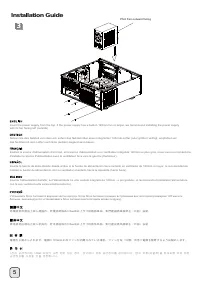
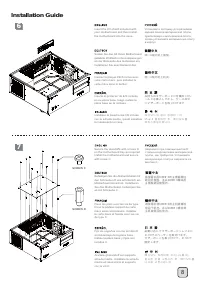
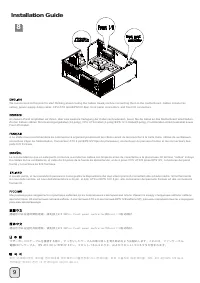
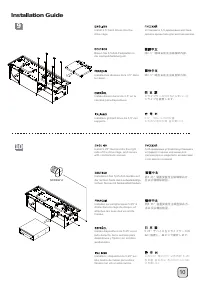
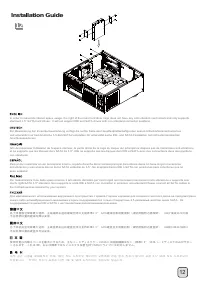
4 1 2 Loosen two screws from the rear of the chassis then remove the top cover. Ослабьте два винта на задней панели корпуса и снимите верхнюю крышку . Lösen Sie die beiden Schrauben von der Rückseite des Gehäuses, entfernen Sie dann die obere Abdeckung. Dévissez les deux vis à l'arrière du châssis p...
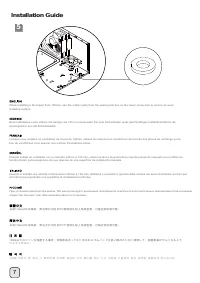
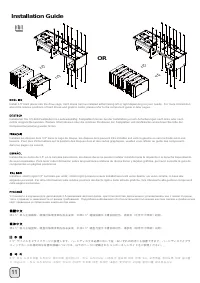
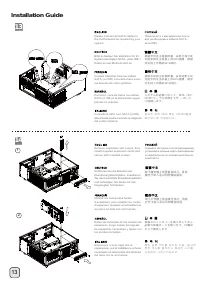
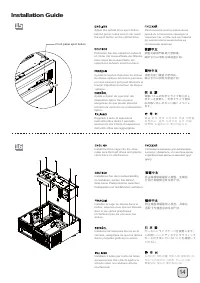
11 11 lnstallation Guide OR Install 3.5" hard drives into the drive cage, hard drives can be installed either facing left or right depending on your needs. For more information about the relative positions of hard drives and graphic cards, please refer to the component guide in later pages. Уста...
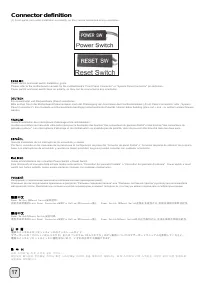
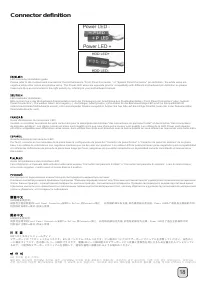
17 Connector definition (1) Front panel conn ector installation no polarity, so they can be connected in any orientation. Power switch and reset switch installation guide: Please refer to the motherboard manuals for the motherboard’s “Front Panel Connector” or “System Panel Connector” pin definition...