Philips HD8753/95 - Istruzioni
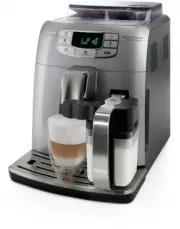
Guida rapida Philips HD8753/95
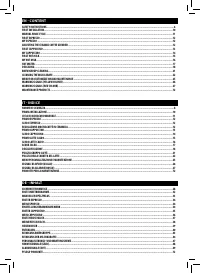
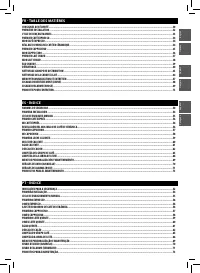
Sommario
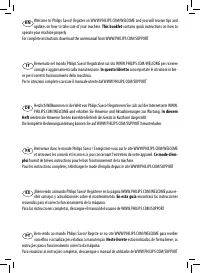
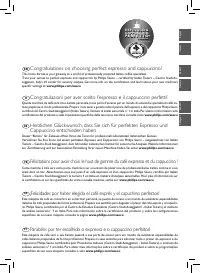
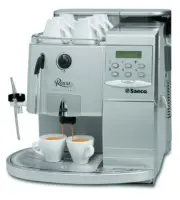
DTP number: B001 by Philips Saeco E S P R E S S O & CAPPUCCINO P E R F E T T O EN Congratulations on choosing perfect espresso and cappuccino! This home barista is your gateway to a world of professionally prepared Italian coffee specialties.Treat your senses to perfect espresso and cappuccino b...
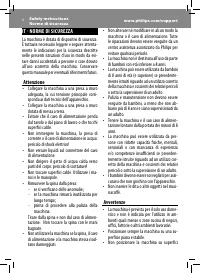
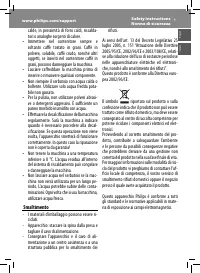
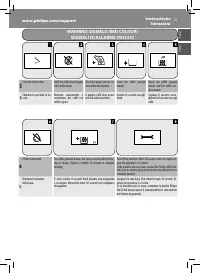
9 www.philips.com/support Safety instructionsNorme di sicurezza English Italiano calde, in prossimità di forni caldi, riscalda-tori o analoghe sorgenti di calore. • Immettere nel contenitore sempre e soltanto caff è tostato in grani. Caff è in polvere, solubile, caff è crudo, nonché altri oggetti, s...
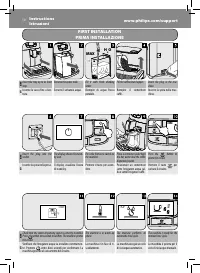
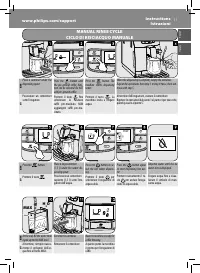
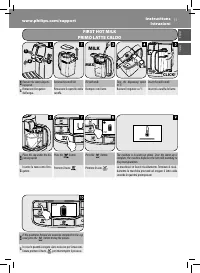
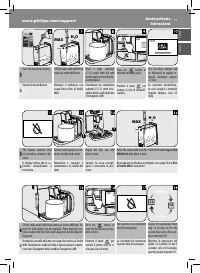
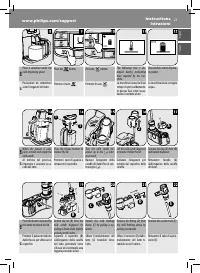
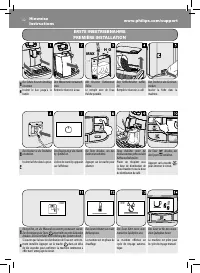
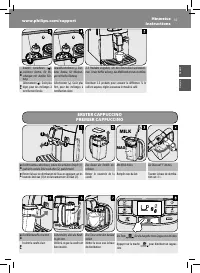
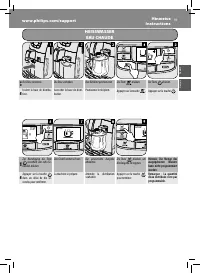
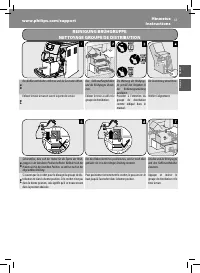
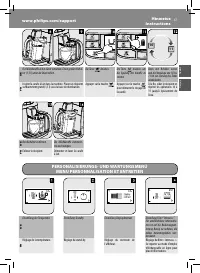
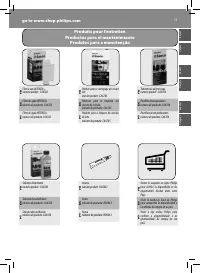
10 www.philips.com/support InstructionsIstruzioni H 2 O MAX FIRST INSTALLATION PRIMA INSTALLAZIONE EN Insert the tray up to its limit stop. Remove the water tank. Fill it with fresh drinking water. Fill the coff ee bean hopper. Insert the plug in the ma-chine. IT Inserire la vasca fi no a bat-tuta. ...
Other Philips Altri Manuals
-
 Philips STH3020/70
Manuale d'uso
Philips STH3020/70
Manuale d'uso
-
 Philips STH3010/30
Manuale d'uso
Philips STH3010/30
Manuale d'uso
-
 Philips STH1010/10
Manuale d'uso
Philips STH1010/10
Manuale d'uso
-
 Philips STH3020/16
Manuale d'uso
Philips STH3020/16
Manuale d'uso
-
 Philips STH3000/26R1
Manuale d'uso
Philips STH3000/26R1
Manuale d'uso
-
 Philips STH3000/26
Manuale d'uso
Philips STH3000/26
Manuale d'uso
-
 Philips 0366.00B.77C
Manuale d'uso
Philips 0366.00B.77C
Manuale d'uso
-
 Philips HD6324/90
Manuale d'uso
Philips HD6324/90
Manuale d'uso
-
 Philips GC6612/30
Manuale d'uso
Philips GC6612/30
Manuale d'uso
-
 Philips GC6842/36
Manuale d'uso
Philips GC6842/36
Manuale d'uso
-
 Philips GC6730/36R1
Manuale d'uso
Philips GC6730/36R1
Manuale d'uso
-
 Philips GC6704/36R1
Manuale d'uso
Philips GC6704/36R1
Manuale d'uso
-
 Philips GC6802/36R1
Manuale d'uso
Philips GC6802/36R1
Manuale d'uso
-
 Philips GC6740/36R1
Manuale d'uso
Philips GC6740/36R1
Manuale d'uso
-
 Philips FC6090/01
Manuale d'uso
Philips FC6090/01
Manuale d'uso
-
 Philips GC6420/02
Manuale d'uso
Philips GC6420/02
Manuale d'uso
-
 Philips GC6268/22
Manuale d'uso
Philips GC6268/22
Manuale d'uso
-
 Philips HD6152/16
Manuale d'uso
Philips HD6152/16
Manuale d'uso
-
 Philips HD6132/10
Manuale d'uso
Philips HD6132/10
Manuale d'uso
-
 Philips GC6611/30
Manuale d'uso
Philips GC6611/30
Manuale d'uso