Philips HD8662/01 - Istruzioni
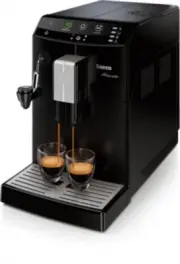
Guida rapida Philips HD8662/01
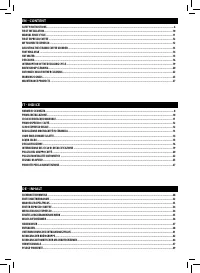
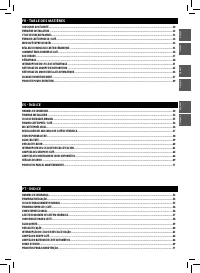


Sommario
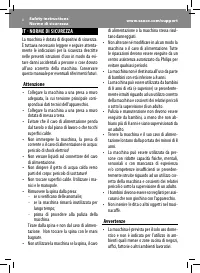
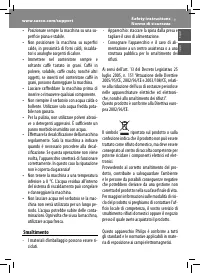
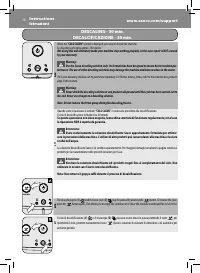
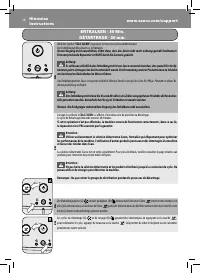
9 Safety instructionsNorme di sicurezza www.saeco.com/support English Italiano • Posizionare sempre la macchina su una su- perfi cie piana e stabile. • Non posizionare la macchina su superfi ci calde, in prossimità di forni caldi, riscalda-tori o analoghe sorgenti di calore. • Immettere nel contenit...
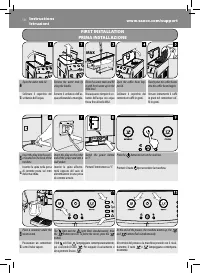
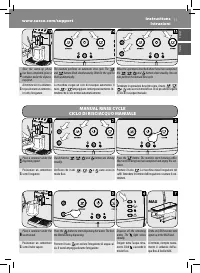
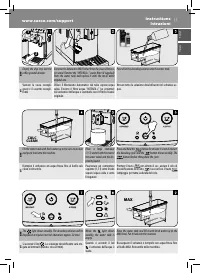
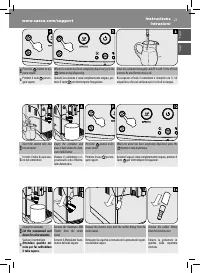
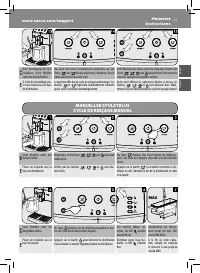
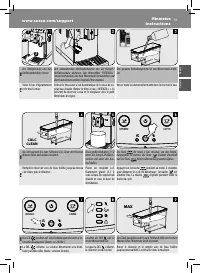
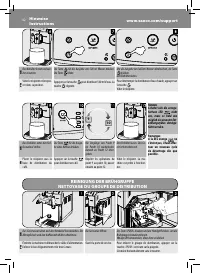
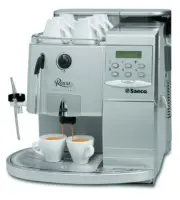
10 InstructionsIstruzioni www.saeco.com/support EN Open the water tank lid. Remove the water tank by using the handle. Rinse the water tank and fi ll it with fresh water up to the MAX level. Open the coff ee bean hop-per lid. Slowly pour the coff ee beans into the coff ee bean hopper. IT Sollevare i...
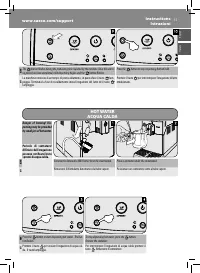
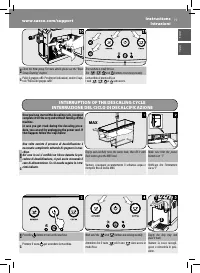
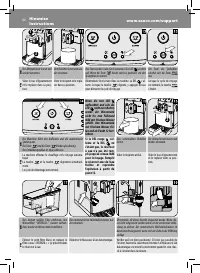
11 www.saeco.com/support Instructions Istruzioni English Italiano EN Once the warm-up phase has been completed, place a container under the dispens-ing spout. The machine performs an automatic rinse cycle. The and buttons fl ash simultaneously. Wait for the cycle to fi nish automatically. When the o...
Other Philips Altri Manuals
-
 Philips STH3020/70
Manuale d'uso
Philips STH3020/70
Manuale d'uso
-
 Philips STH3010/30
Manuale d'uso
Philips STH3010/30
Manuale d'uso
-
 Philips STH1010/10
Manuale d'uso
Philips STH1010/10
Manuale d'uso
-
 Philips STH3020/16
Manuale d'uso
Philips STH3020/16
Manuale d'uso
-
 Philips STH3000/26R1
Manuale d'uso
Philips STH3000/26R1
Manuale d'uso
-
 Philips STH3000/26
Manuale d'uso
Philips STH3000/26
Manuale d'uso
-
 Philips 0366.00B.77C
Manuale d'uso
Philips 0366.00B.77C
Manuale d'uso
-
 Philips HD6324/90
Manuale d'uso
Philips HD6324/90
Manuale d'uso
-
 Philips GC6612/30
Manuale d'uso
Philips GC6612/30
Manuale d'uso
-
 Philips GC6842/36
Manuale d'uso
Philips GC6842/36
Manuale d'uso
-
 Philips GC6730/36R1
Manuale d'uso
Philips GC6730/36R1
Manuale d'uso
-
 Philips GC6704/36R1
Manuale d'uso
Philips GC6704/36R1
Manuale d'uso
-
 Philips GC6802/36R1
Manuale d'uso
Philips GC6802/36R1
Manuale d'uso
-
 Philips GC6740/36R1
Manuale d'uso
Philips GC6740/36R1
Manuale d'uso
-
 Philips FC6090/01
Manuale d'uso
Philips FC6090/01
Manuale d'uso
-
 Philips GC6420/02
Manuale d'uso
Philips GC6420/02
Manuale d'uso
-
 Philips GC6268/22
Manuale d'uso
Philips GC6268/22
Manuale d'uso
-
 Philips HD6152/16
Manuale d'uso
Philips HD6152/16
Manuale d'uso
-
 Philips HD6132/10
Manuale d'uso
Philips HD6132/10
Manuale d'uso
-
 Philips GC6611/30
Manuale d'uso
Philips GC6611/30
Manuale d'uso